This firebase android tutorial is a complete setup guide. You will learn How to add Firebase to the android app. Firebase is a real-time, advanced, and powerful tool for android app development. Firebase is a Google product that allows storing data on the cloud.
Crashlytics, analytics, user authentication, cloud messaging, and much more. In this session, I'll cover the push notification of Firebase. Firebase allows sending real-time messaging on android phones.
Using the Firebase messaging you can send three types of messages:
- Notification Message
- Data Message
- Notification and Data Message
Notification Message
Notification messages are handled by Firebase itself.
Data Message
Data messages are handled by the Android app. Also, retrieve data from firebase in android studio.
Notification and Data Message
In this situation, it will be handled in two scenarios depending upon the app state (foreground/background). For these messages, we can use both notification and data keys and their values.
Create your account with firebase console for android Click here
Foreground State
The app receives a message object with both payloads in the activity FirebaseMessagingService.
Background State
The app receives the notification message payload in the notification tray, and when the user taps on the notification then handle the data payload.
Android Session Management using Shared Preferences
The second thing is the message targeting the audience. You can send notification messages either to a single user or to all users using a topic name.
But for targeting the audience you need a registered token id. I'll tell you how to get this token id.
Let's start with Firebase
Follow these steps to set up your Firebase account. I am sure you will get a complete answer to how to use firebase in android studio.
Step 1:
First of all login with your Gmail account in firebase.
Step 2:
You'll see the Welcome page of Firebase like this
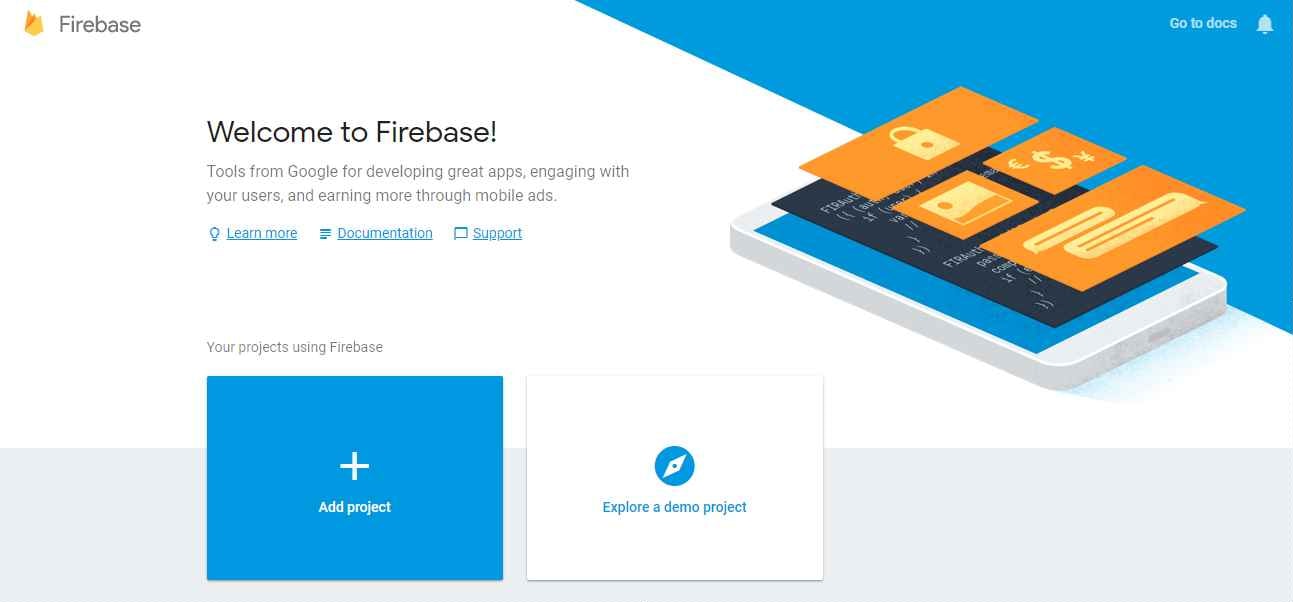
Step 3:
Add project in your account.
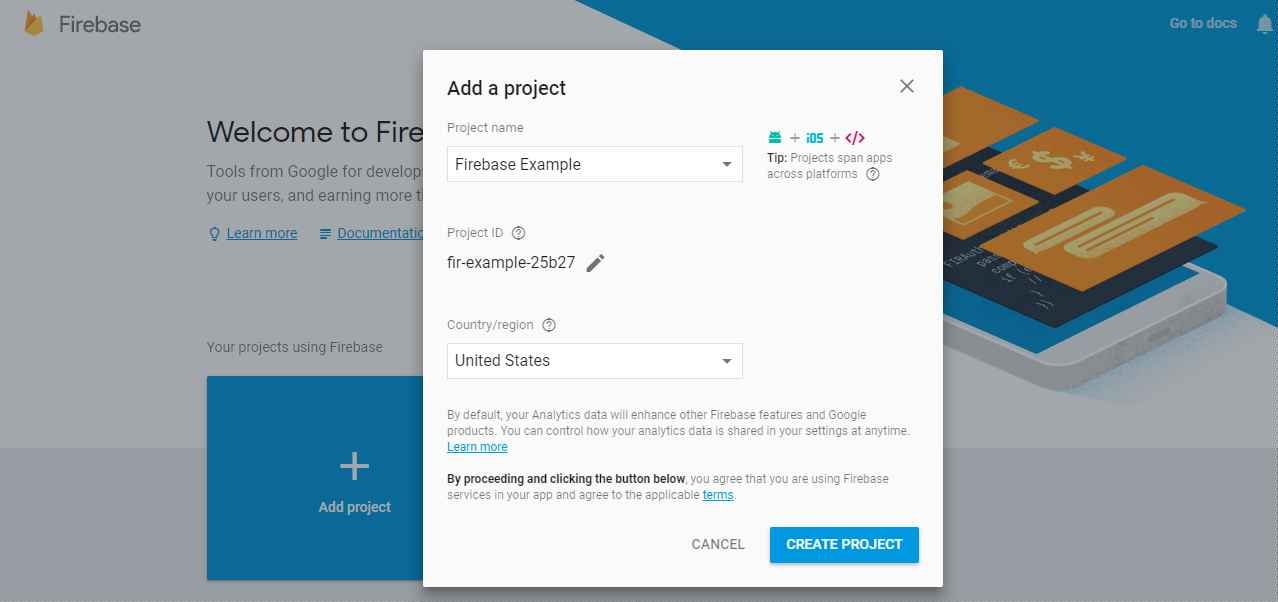
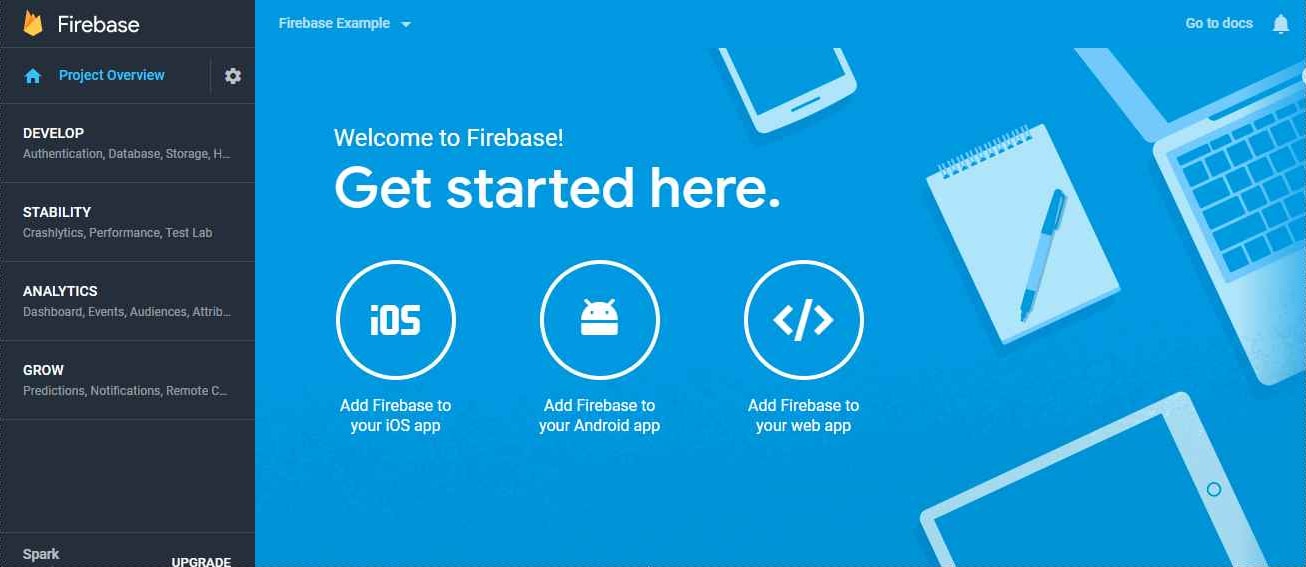
Step 4:
Now you'll see this screen, here you can choose your platform and choose options to add your Firebase android app.
Step 5:
Now you can register your app with package name and your app name.
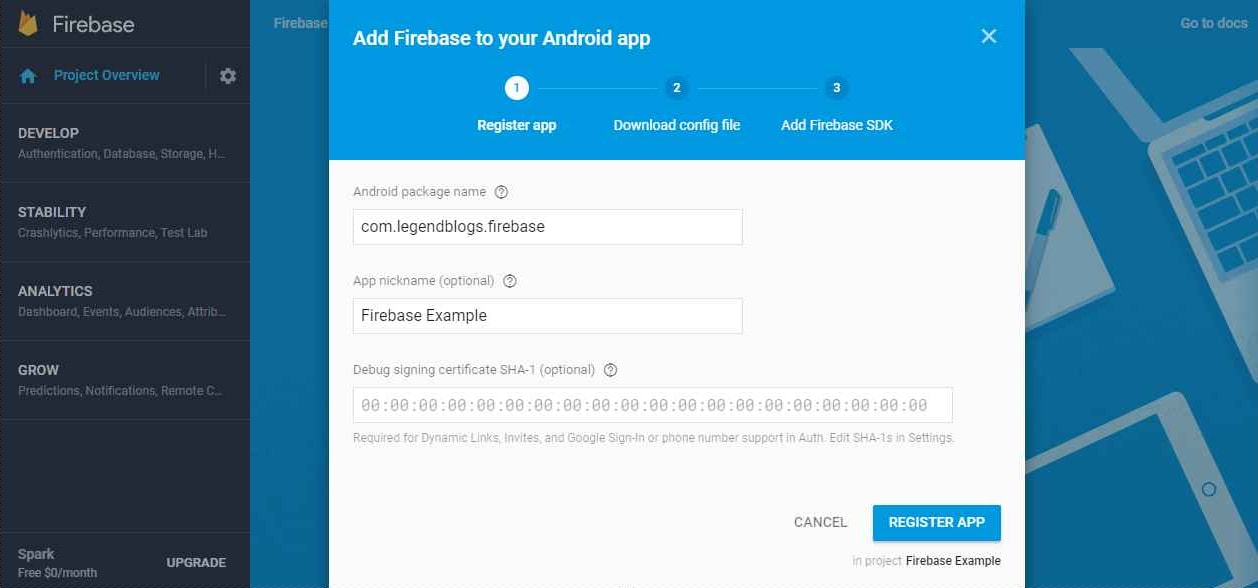
Step 6:
When you pressed the Register App button, Firebase allows downloading config files to your PC. And this file needs to add to your android project root folder.
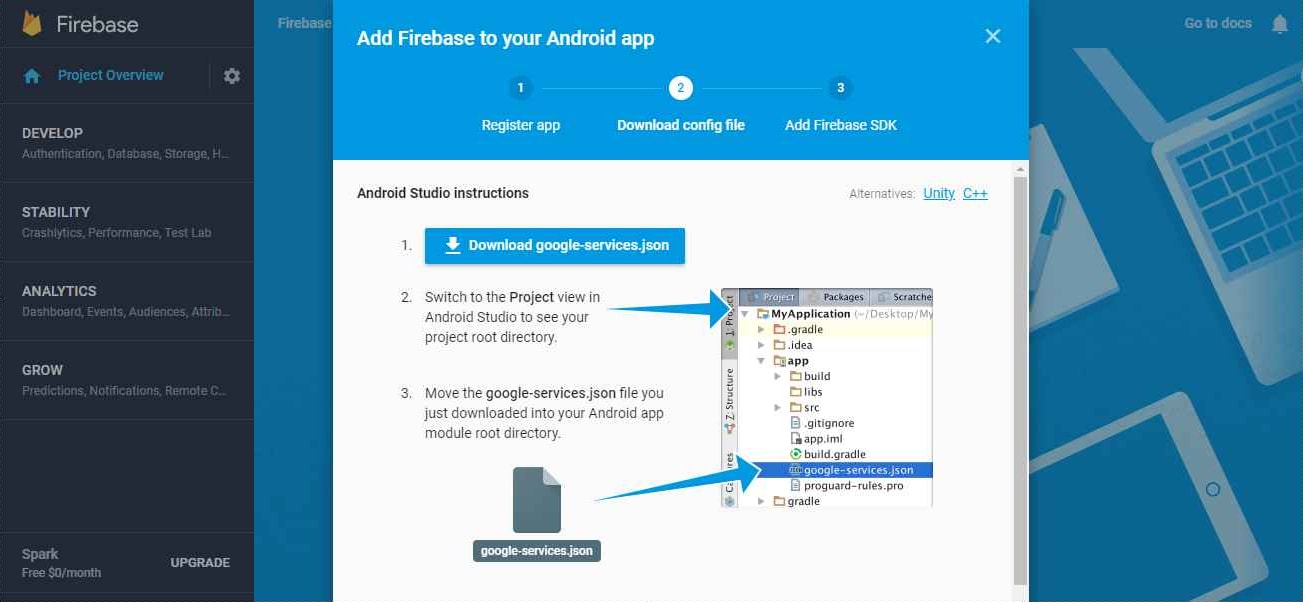
Step 7:
Now, add Firebase SDK in your Gradle file.
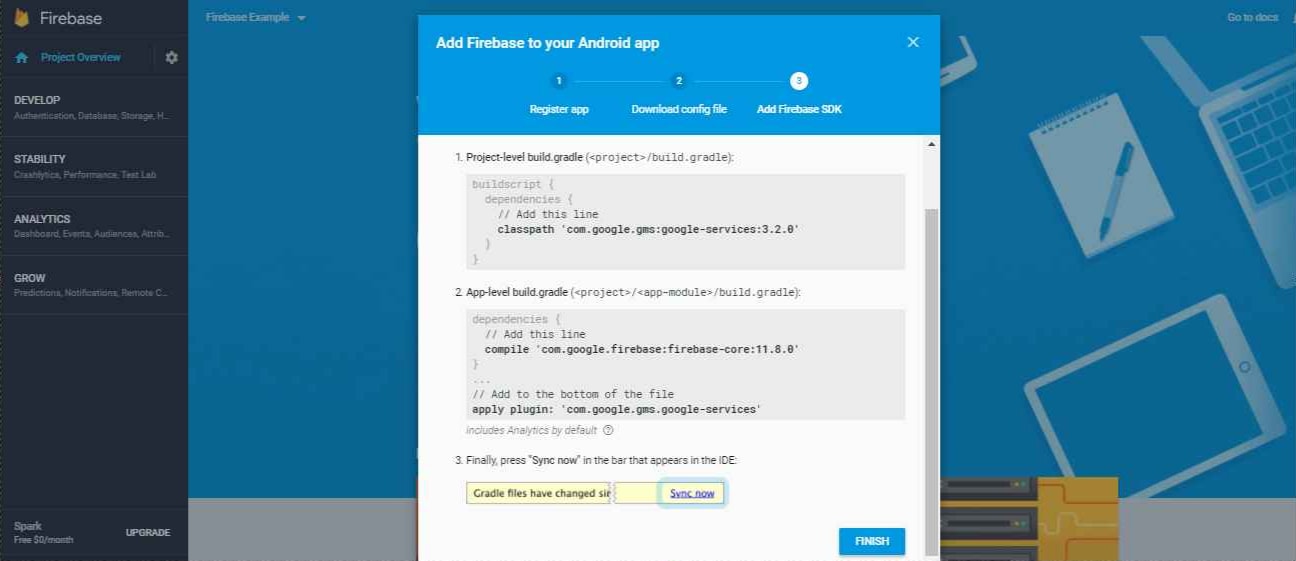
Step 8:
You need to add basic dependency in your Gradle file. These are most important. If you want to add more services of Firebase you can add more dependencies like firebase database android.
Add this link to your project level gradle:
classpath 'com.google.gms:google-services:3.2.0'Add this to your add level gradle:
compile 'com.google.firebase:firebase-messaging:11.2.0'And bottom of the same file add this line:
apply plugin: 'com.google.gms.google-services'Firebase android example
Let's check the complete example.
Your Project level Gradle is:
// Top-level build file where you can add configuration options common to all sub-projects/modules.
buildscript {
    repositories {
        jcenter()
    }
    dependencies {
        classpath 'com.android.tools.build:gradle:2.1.0'
        classpath 'com.google.gms:google-services:3.2.0'
        // NOTE: Do not place your application dependencies here; they belong
        // in the individual module build.gradle files
    }
}
allprojects {
    repositories {
        jcenter()
    }
}
task clean(type: Delete) {
    delete rootProject.buildDir
}
Your app level Gradle is:
apply plugin: 'com.android.application'
android {
    compileSdkVersion 26
    buildToolsVersion "26.0.0"
    defaultConfig {
        applicationId "com.legendblogs.firebase"
        minSdkVersion 21
        targetSdkVersion 26
        versionCode 1
        versionName "1.0"
    }
    buildTypes {
        release {
            minifyEnabled false
            proguardFiles getDefaultProguardFile('proguard-android.txt'), 'proguard-rules.pro'
        }
    }
}
dependencies {
    compile fileTree(dir: 'libs', include: ['*.jar'])
    testCompile 'junit:junit:4.12'
    compile 'com.android.support:appcompat-v7:26.0.0-alpha1'
    compile 'com.google.firebase:firebase-messaging:11.8.0'
}
apply plugin: 'com.google.gms.google-services'
Firebase Cloud Messaging Service java
Now create your Firebase Cloud Messaging Service file :
package com.legendblogs.firebase;
import android.app.NotificationManager;
import android.app.PendingIntent;
import android.content.Context;
import android.content.Intent;
import android.content.SharedPreferences;
import android.media.RingtoneManager;
import android.net.Uri;
import android.support.v4.app.NotificationCompat;
import android.util.Log;
import com.google.firebase.iid.FirebaseInstanceId;
import com.google.firebase.messaging.FirebaseMessagingService;
import com.google.firebase.messaging.RemoteMessage;
public class FirebaseCloudMessagingService extends FirebaseMessagingService {
    private static final String TAG = FirebaseCloudMessagingService.class.getSimpleName();
    @Override
    public void onMessageReceived(RemoteMessage remoteMessage) {
        if (remoteMessage == null)
            return;
        Log.d(TAG, "token "+ FirebaseInstanceId.getInstance().getToken());
        storeRegIdInPref(FirebaseInstanceId.getInstance().getToken());
        // check if message contains a notification payload.
        if (remoteMessage.getNotification() != null) {
            Log.e(TAG, "Notification body: " + remoteMessage.getNotification().getBody());
            createNotification(remoteMessage.getNotification());
        }
        // check if message contains a data payload
        if (remoteMessage.getData().size() > 0) {
            Log.d(TAG, "From: " + remoteMessage.getFrom());
            Log.d(TAG, "Message data payload: " + remoteMessage.getData());
        }
    }
    private void createNotification (RemoteMessage.Notification notification) {
        Intent notificationIntent = new Intent(this.getApplicationContext(), FirebaseCloudMessagingService.class);
        PendingIntent contentIntent = PendingIntent.getActivity(this.getApplicationContext(), 0, notificationIntent, 0);
        Uri notificationSoundURI = RingtoneManager.getDefaultUri(RingtoneManager.TYPE_NOTIFICATION);
        NotificationCompat.Builder mNotificationBuilder = new NotificationCompat.Builder( this)
                .setSmallIcon(R.mipmap.ic_launcher)
                .setContentTitle(notification.getTitle())
                .setContentText(notification.getBody())
                .setAutoCancel( true )
                .setSound(notificationSoundURI)
                .setContentIntent(contentIntent);
        NotificationManager notificationManager =
                (NotificationManager) getSystemService(Context.NOTIFICATION_SERVICE);
        notificationManager.notify(0, mNotificationBuilder.build());
    }
    private void storeRegIdInPref(String token) {
        SharedPreferences pref = getApplicationContext().getSharedPreferences("legendblogs_firebase", 0);
        SharedPreferences.Editor editor = pref.edit();
        editor.putString("fcmRegId", token);
        editor.commit();
    }
}MainActivity.java
package com.legendblogs.firebase;
import android.content.BroadcastReceiver;
import android.content.SharedPreferences;
import android.support.v7.app.AppCompatActivity;
import android.os.Bundle;
import android.view.View;
import android.widget.Button;
import android.widget.TextView;
public class MainActivity extends AppCompatActivity {
    private TextView fcmtoken;
    @Override
    protected void onCreate(Bundle savedInstanceState) {
        super.onCreate(savedInstanceState);
        setContentView(R.layout.activity_main);
        fcmtoken = (TextView) findViewById(R.id.fcmtoken);
        Button getToken = (Button) findViewById(R.id.getToken);
        getToken.setOnClickListener(new View.OnClickListener() {
            @Override
            public void onClick(View v) {
                fcmtoken.setText(displayFirebaseRegId());
            }
        });
    }
    private String displayFirebaseRegId() {
        SharedPreferences pref = getApplicationContext().getSharedPreferences("legendblogs_firebase", 0);
        String regId = pref.getString("fcmRegId", null);
        return regId;
    }
}
Navigation drawer layout with an event listener
Activity main xml
<?xml version="1.0" encoding="utf-8"?>
<RelativeLayout xmlns:android="http://schemas.android.com/apk/res/android"
    xmlns:tools="http://schemas.android.com/tools"
    android:layout_width="match_parent"
    android:layout_height="match_parent"
    android:paddingBottom="@dimen/activity_vertical_margin"
    android:paddingLeft="@dimen/activity_horizontal_margin"
    android:paddingRight="@dimen/activity_horizontal_margin"
    android:paddingTop="@dimen/activity_vertical_margin"
    tools:context="com.legendblogs.firebase.MainActivity">
    <TextView
        android:layout_width="wrap_content"
        android:layout_height="wrap_content"
        android:text="FCM Registration Token"
        android:layout_alignParentTop="true"
        android:layout_centerHorizontal="true"
        android:layout_marginTop="97dp"
        android:textSize="30dp"
        android:id="@+id/textView" />
    <TextView
        android:layout_width="wrap_content"
        android:layout_height="wrap_content"
        android:textAppearance="?android:attr/textAppearanceSmall"
        android:id="@+id/fcmtoken"
        android:layout_centerVertical="true"
        android:layout_centerHorizontal="true" />
    <Button
        android:layout_width="wrap_content"
        android:layout_height="wrap_content"
        android:text="Get Token"
        android:id="@+id/getToken"
        android:layout_below="@+id/textView"
        android:layout_centerHorizontal="true" />
</RelativeLayout>
Android manifest
Add sevices of Filebase in your android manifest:
<service
       android:name=".FirebaseCloudMessagingService">
        <intent-filter>
            <action android:name="com.google.firebase.MESSAGING_EVENT"/>
        </intent-filter>
</service>
manifest.xml:
<?xml version="1.0" encoding="utf-8"?>
<manifest xmlns:android="http://schemas.android.com/apk/res/android"
package="com.legendblogs.firebase">
<application
android:allowBackup="true"
android:icon="@mipmap/ic_launcher"
android:label="@string/app_name"
android:supportsRtl="true"
android:theme="@style/AppTheme">
<activity android:name=".MainActivity">
<intent-filter>
<action android:name="android.intent.action.MAIN" />
<category android:name="android.intent.category.LAUNCHER" />
</intent-filter>
</activity>
<service
android:name=".FirebaseCloudMessagingService">
<intent-filter>
<action android:name="com.google.firebase.MESSAGING_EVENT"/>
</intent-filter>
</service>
</application>
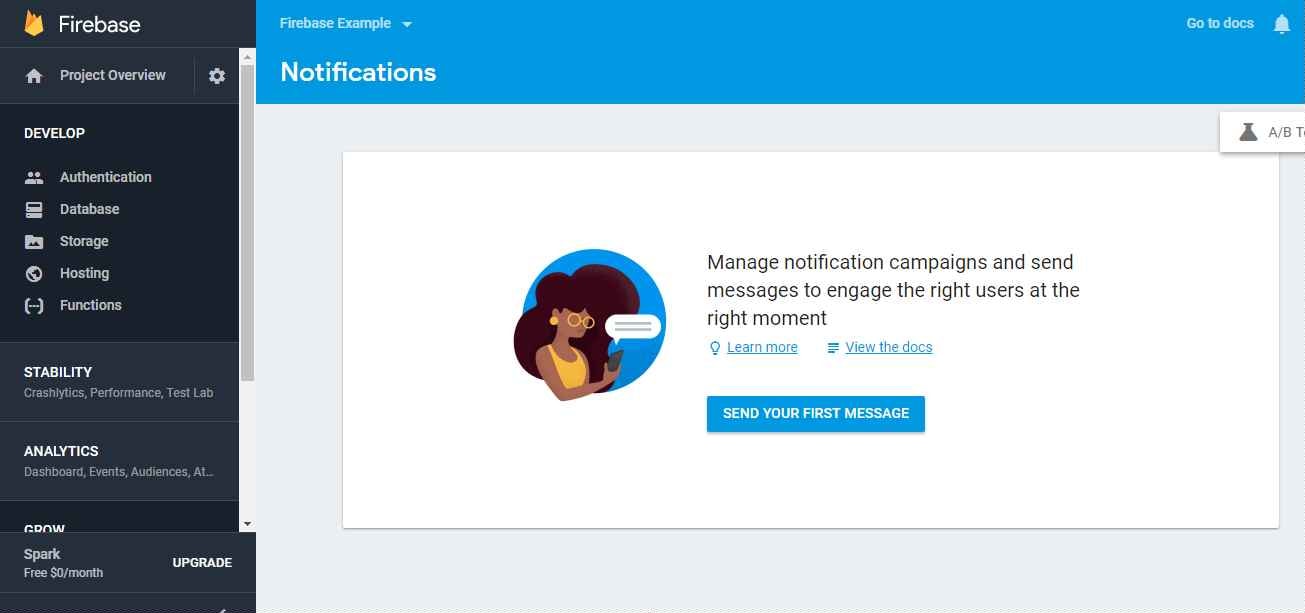
</manifest>Now, go to your google Firebase account and select the Notification section to send a notification message
After this you'll see this screen to send your first Notification:
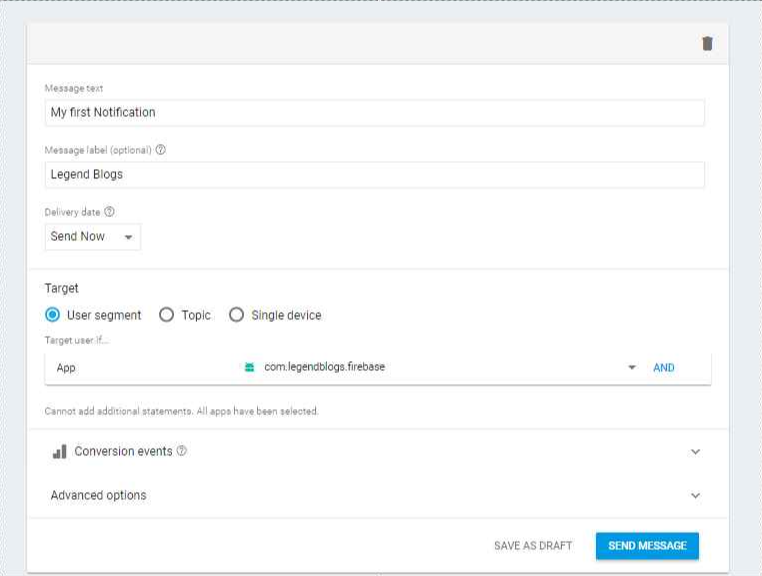
Create your first notification like this and press send:
Now you'll get a notification on your phone like this:
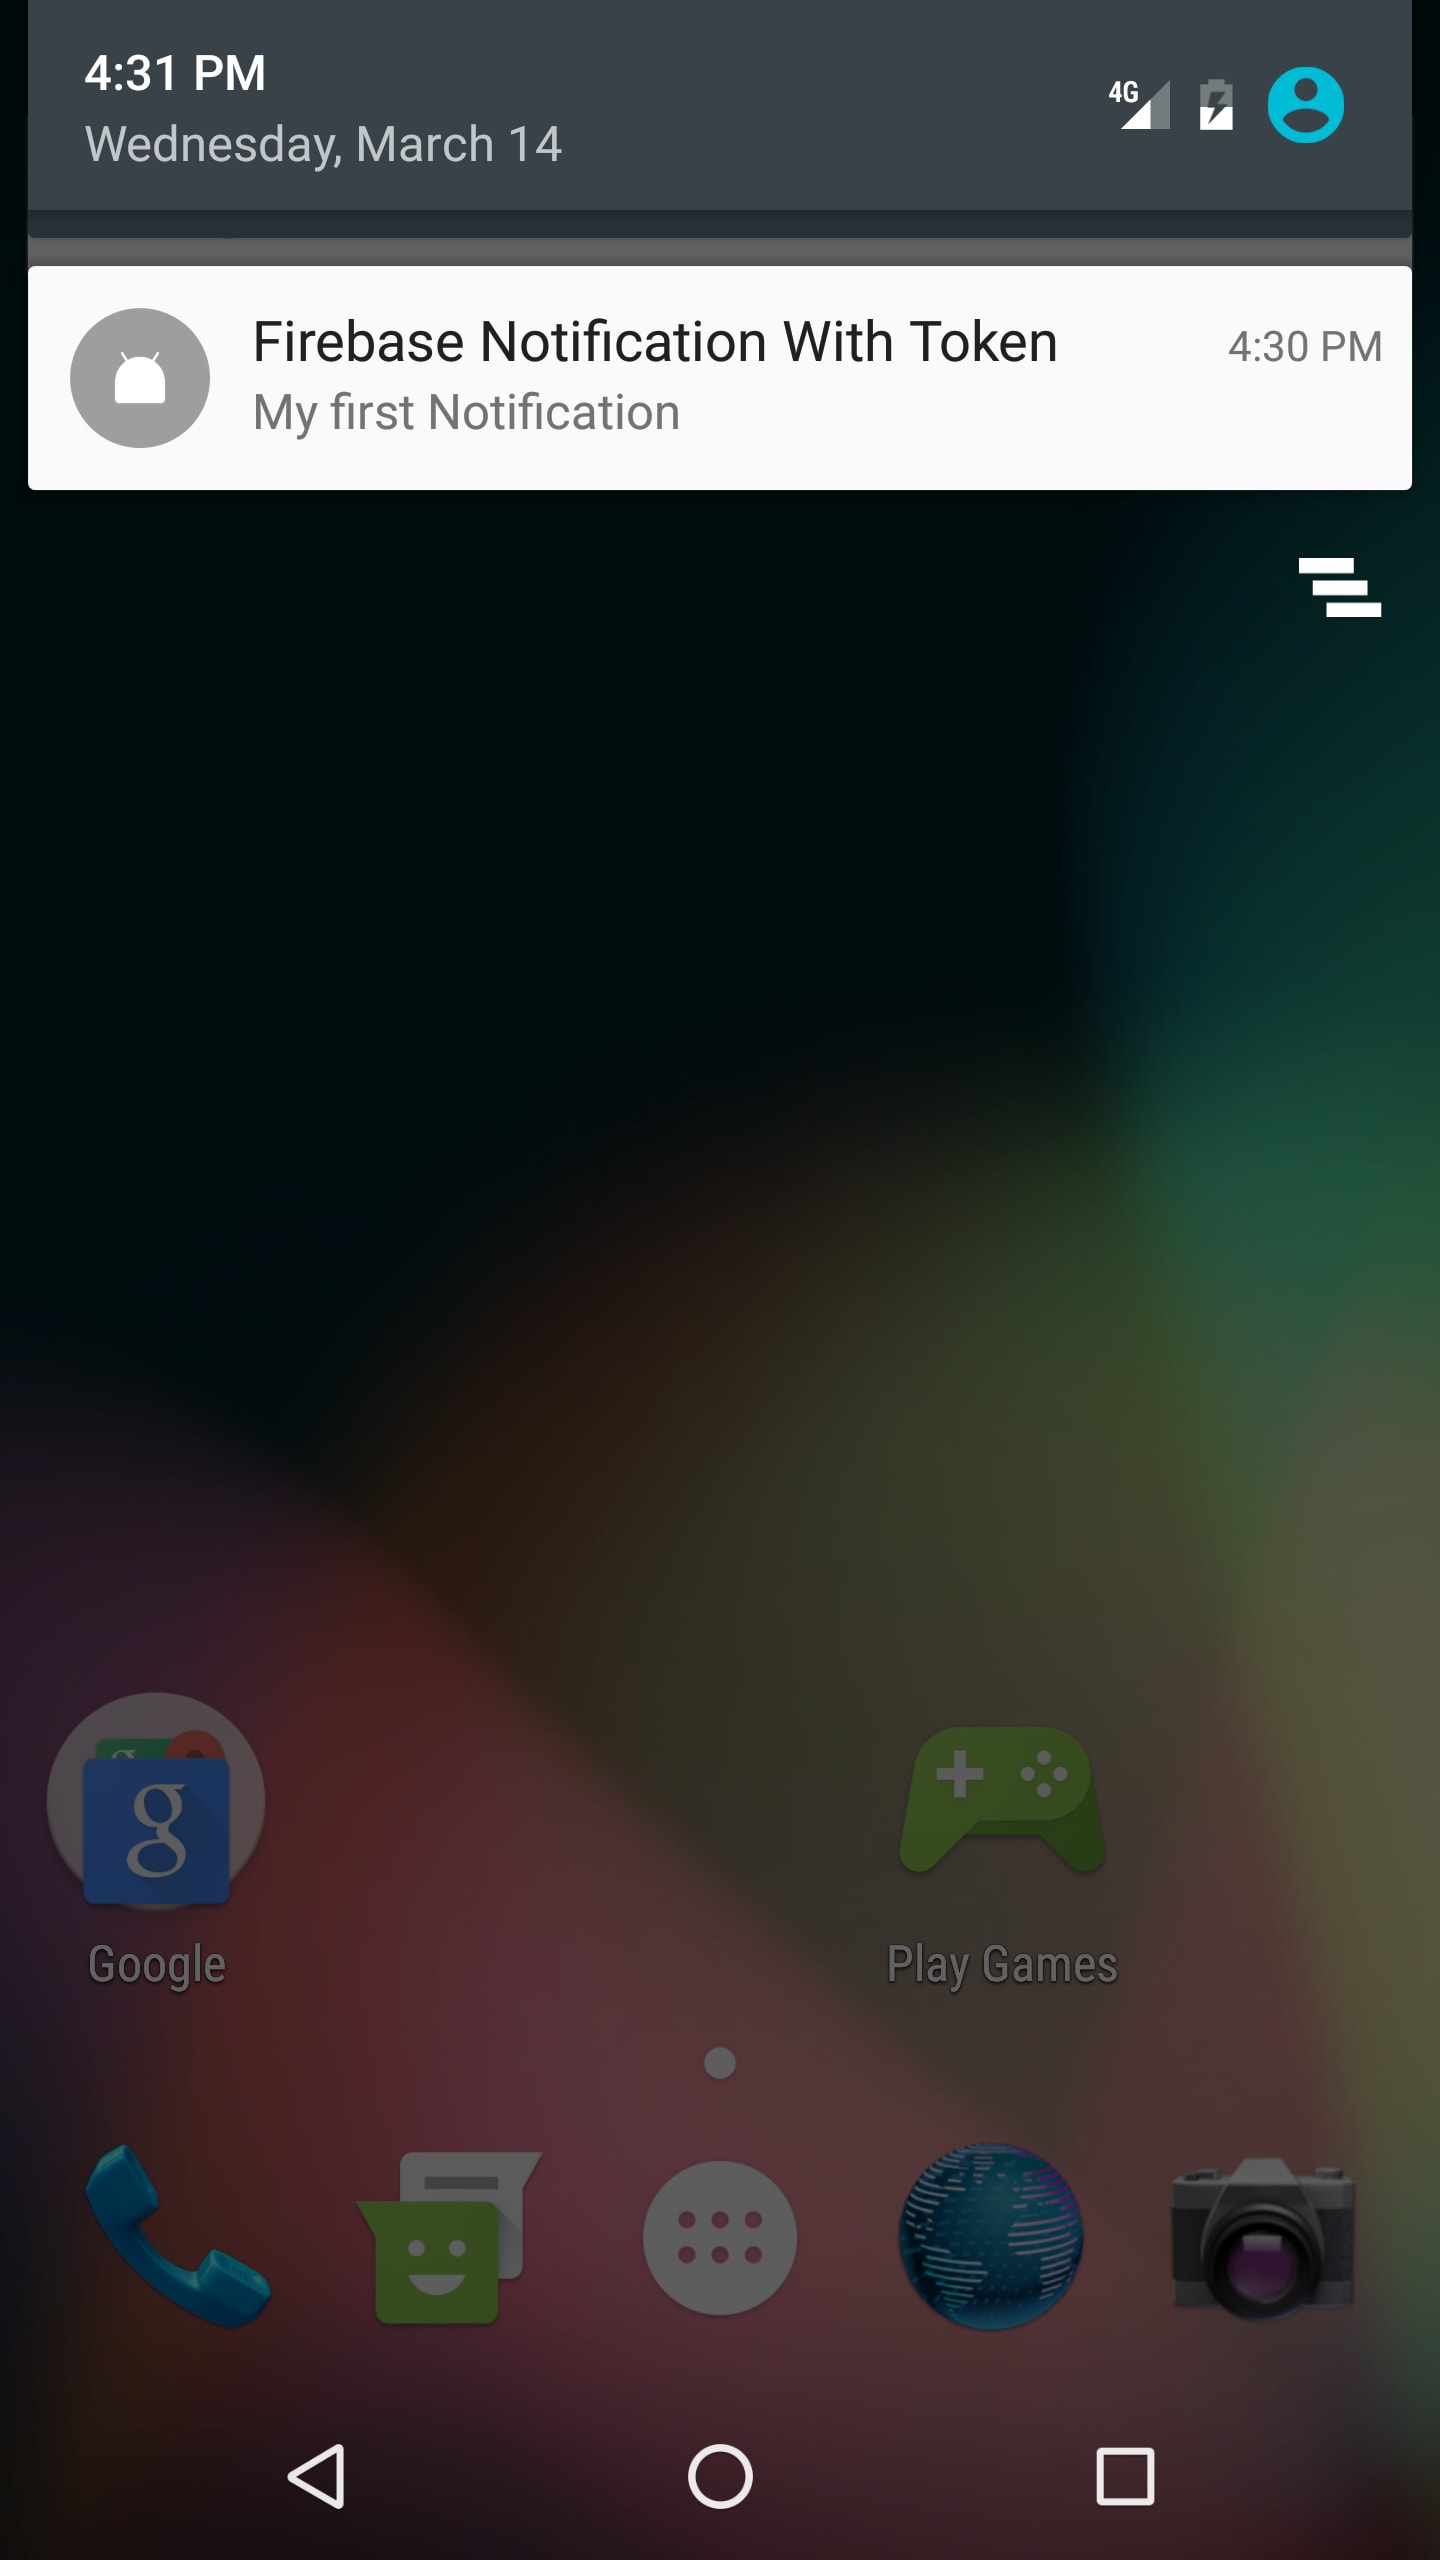
When you tap on the notification your app will open:
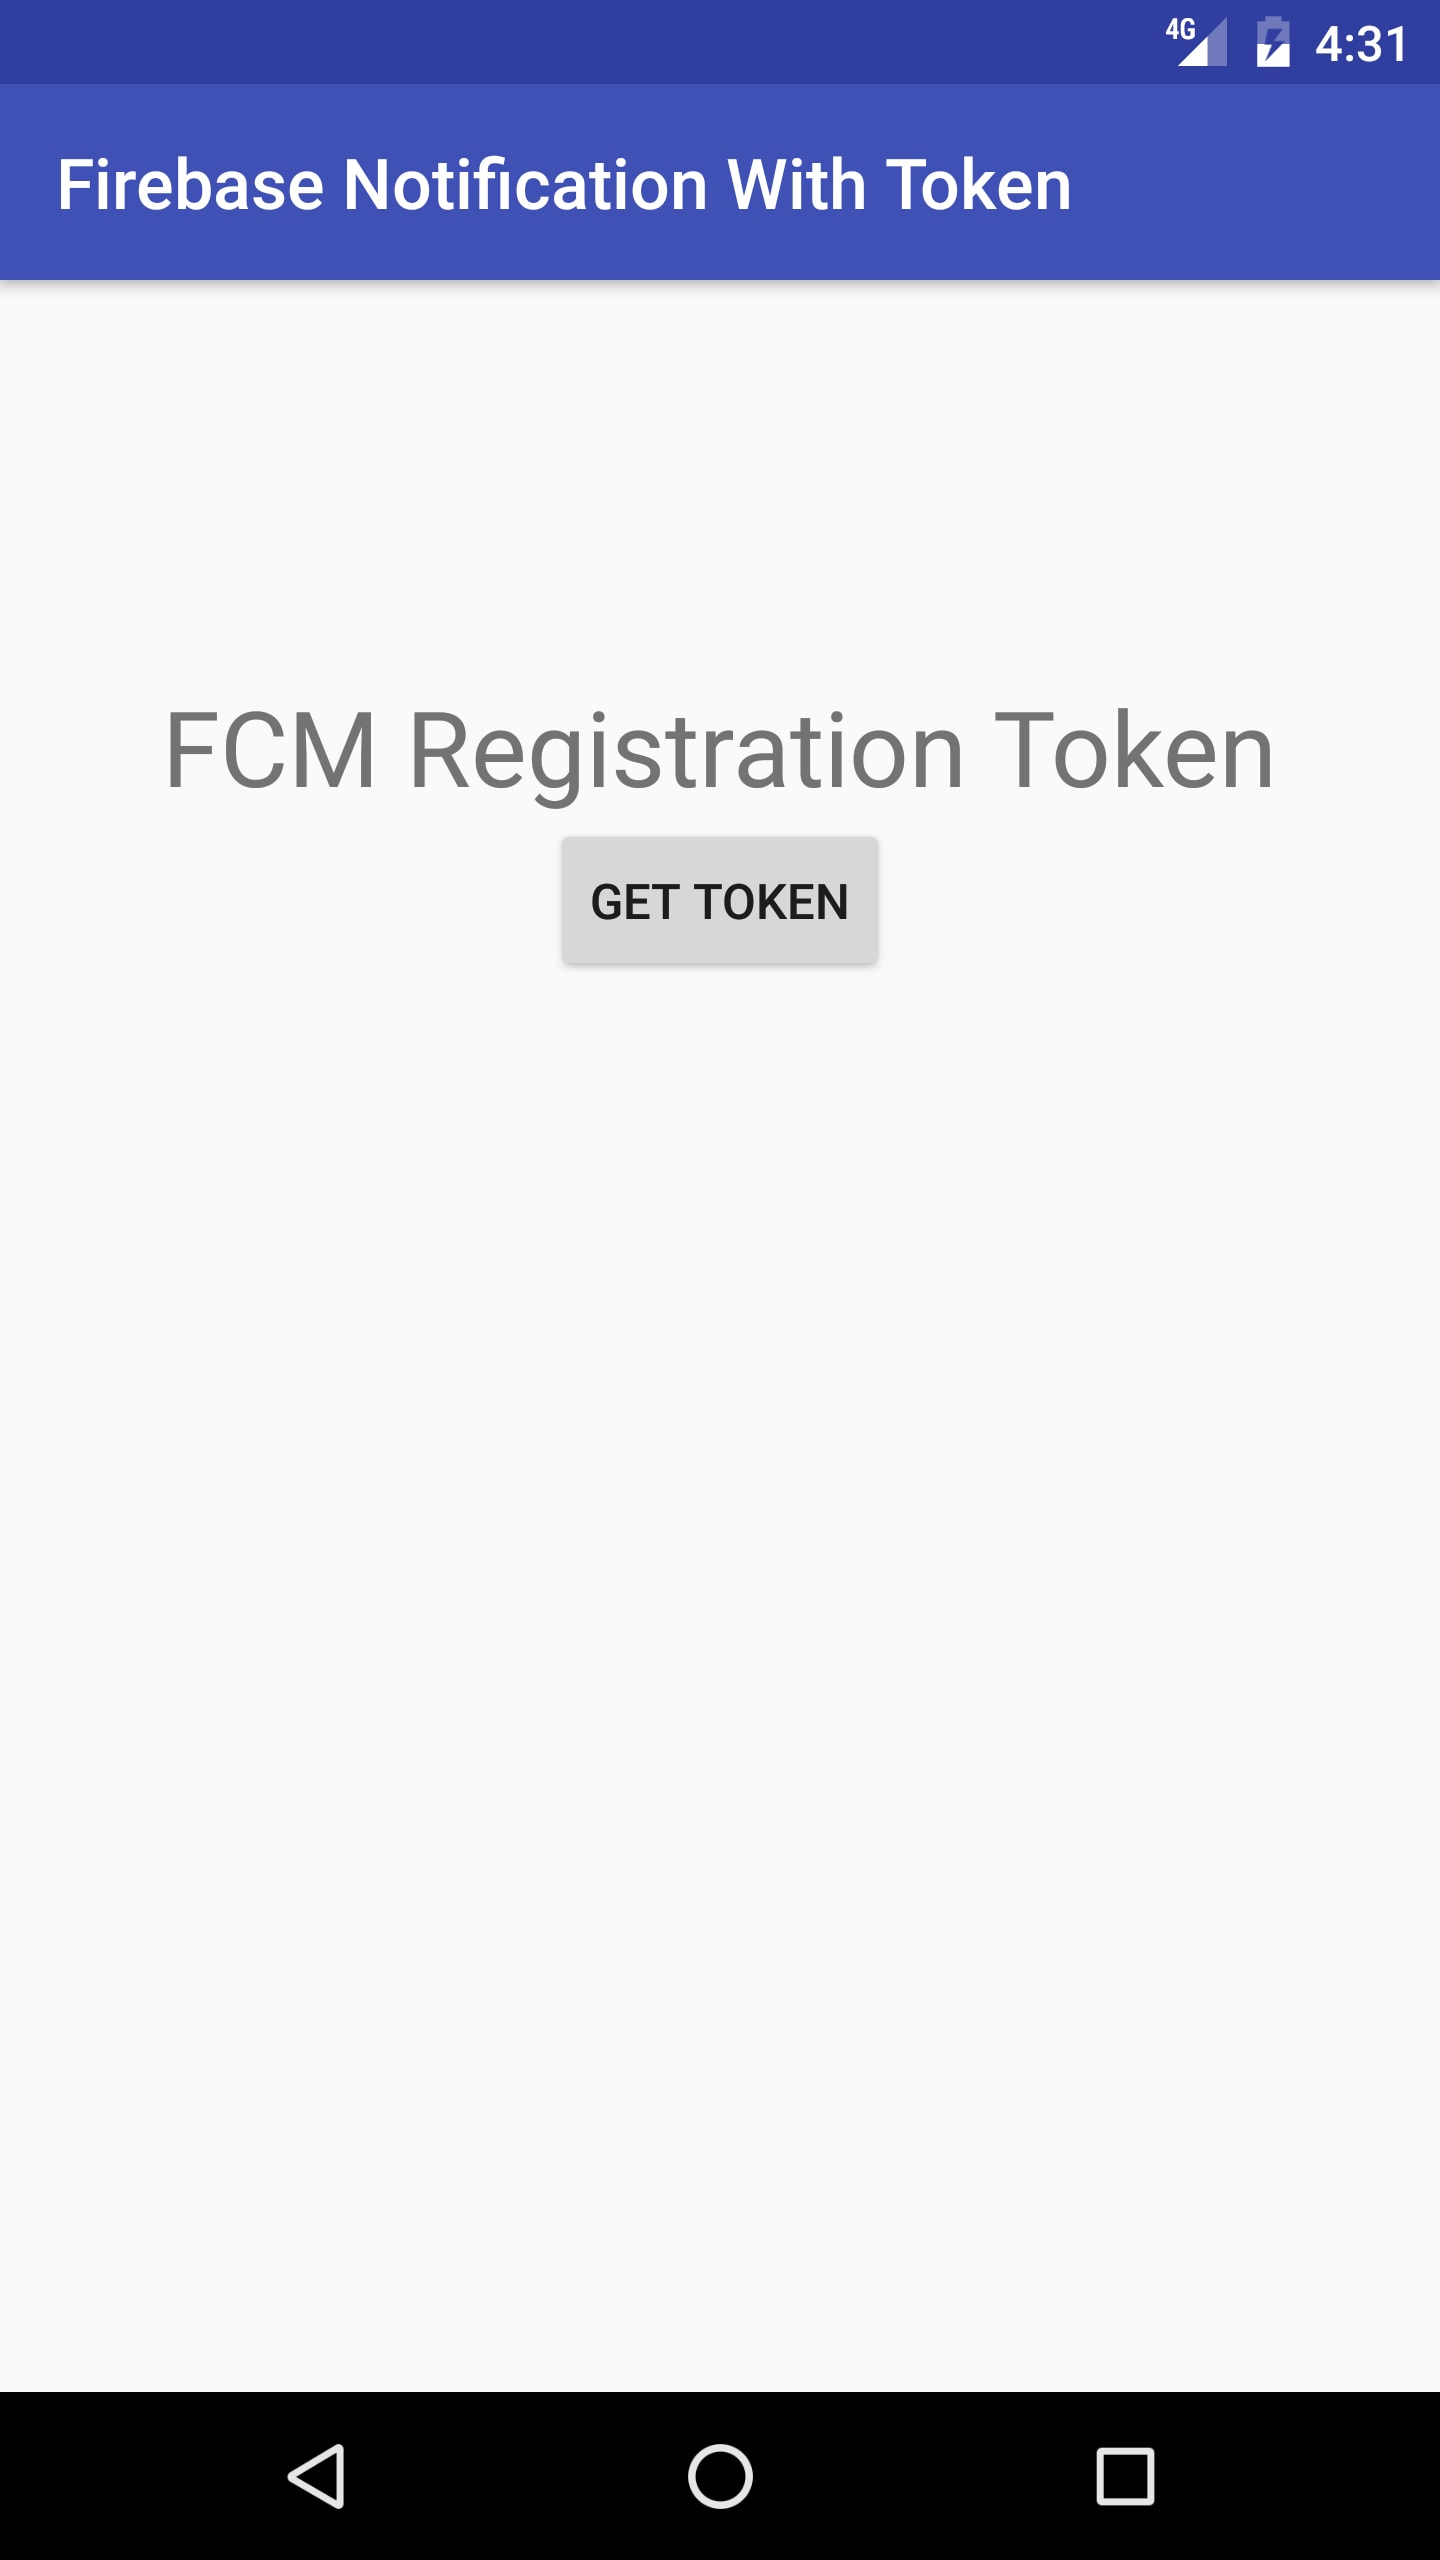
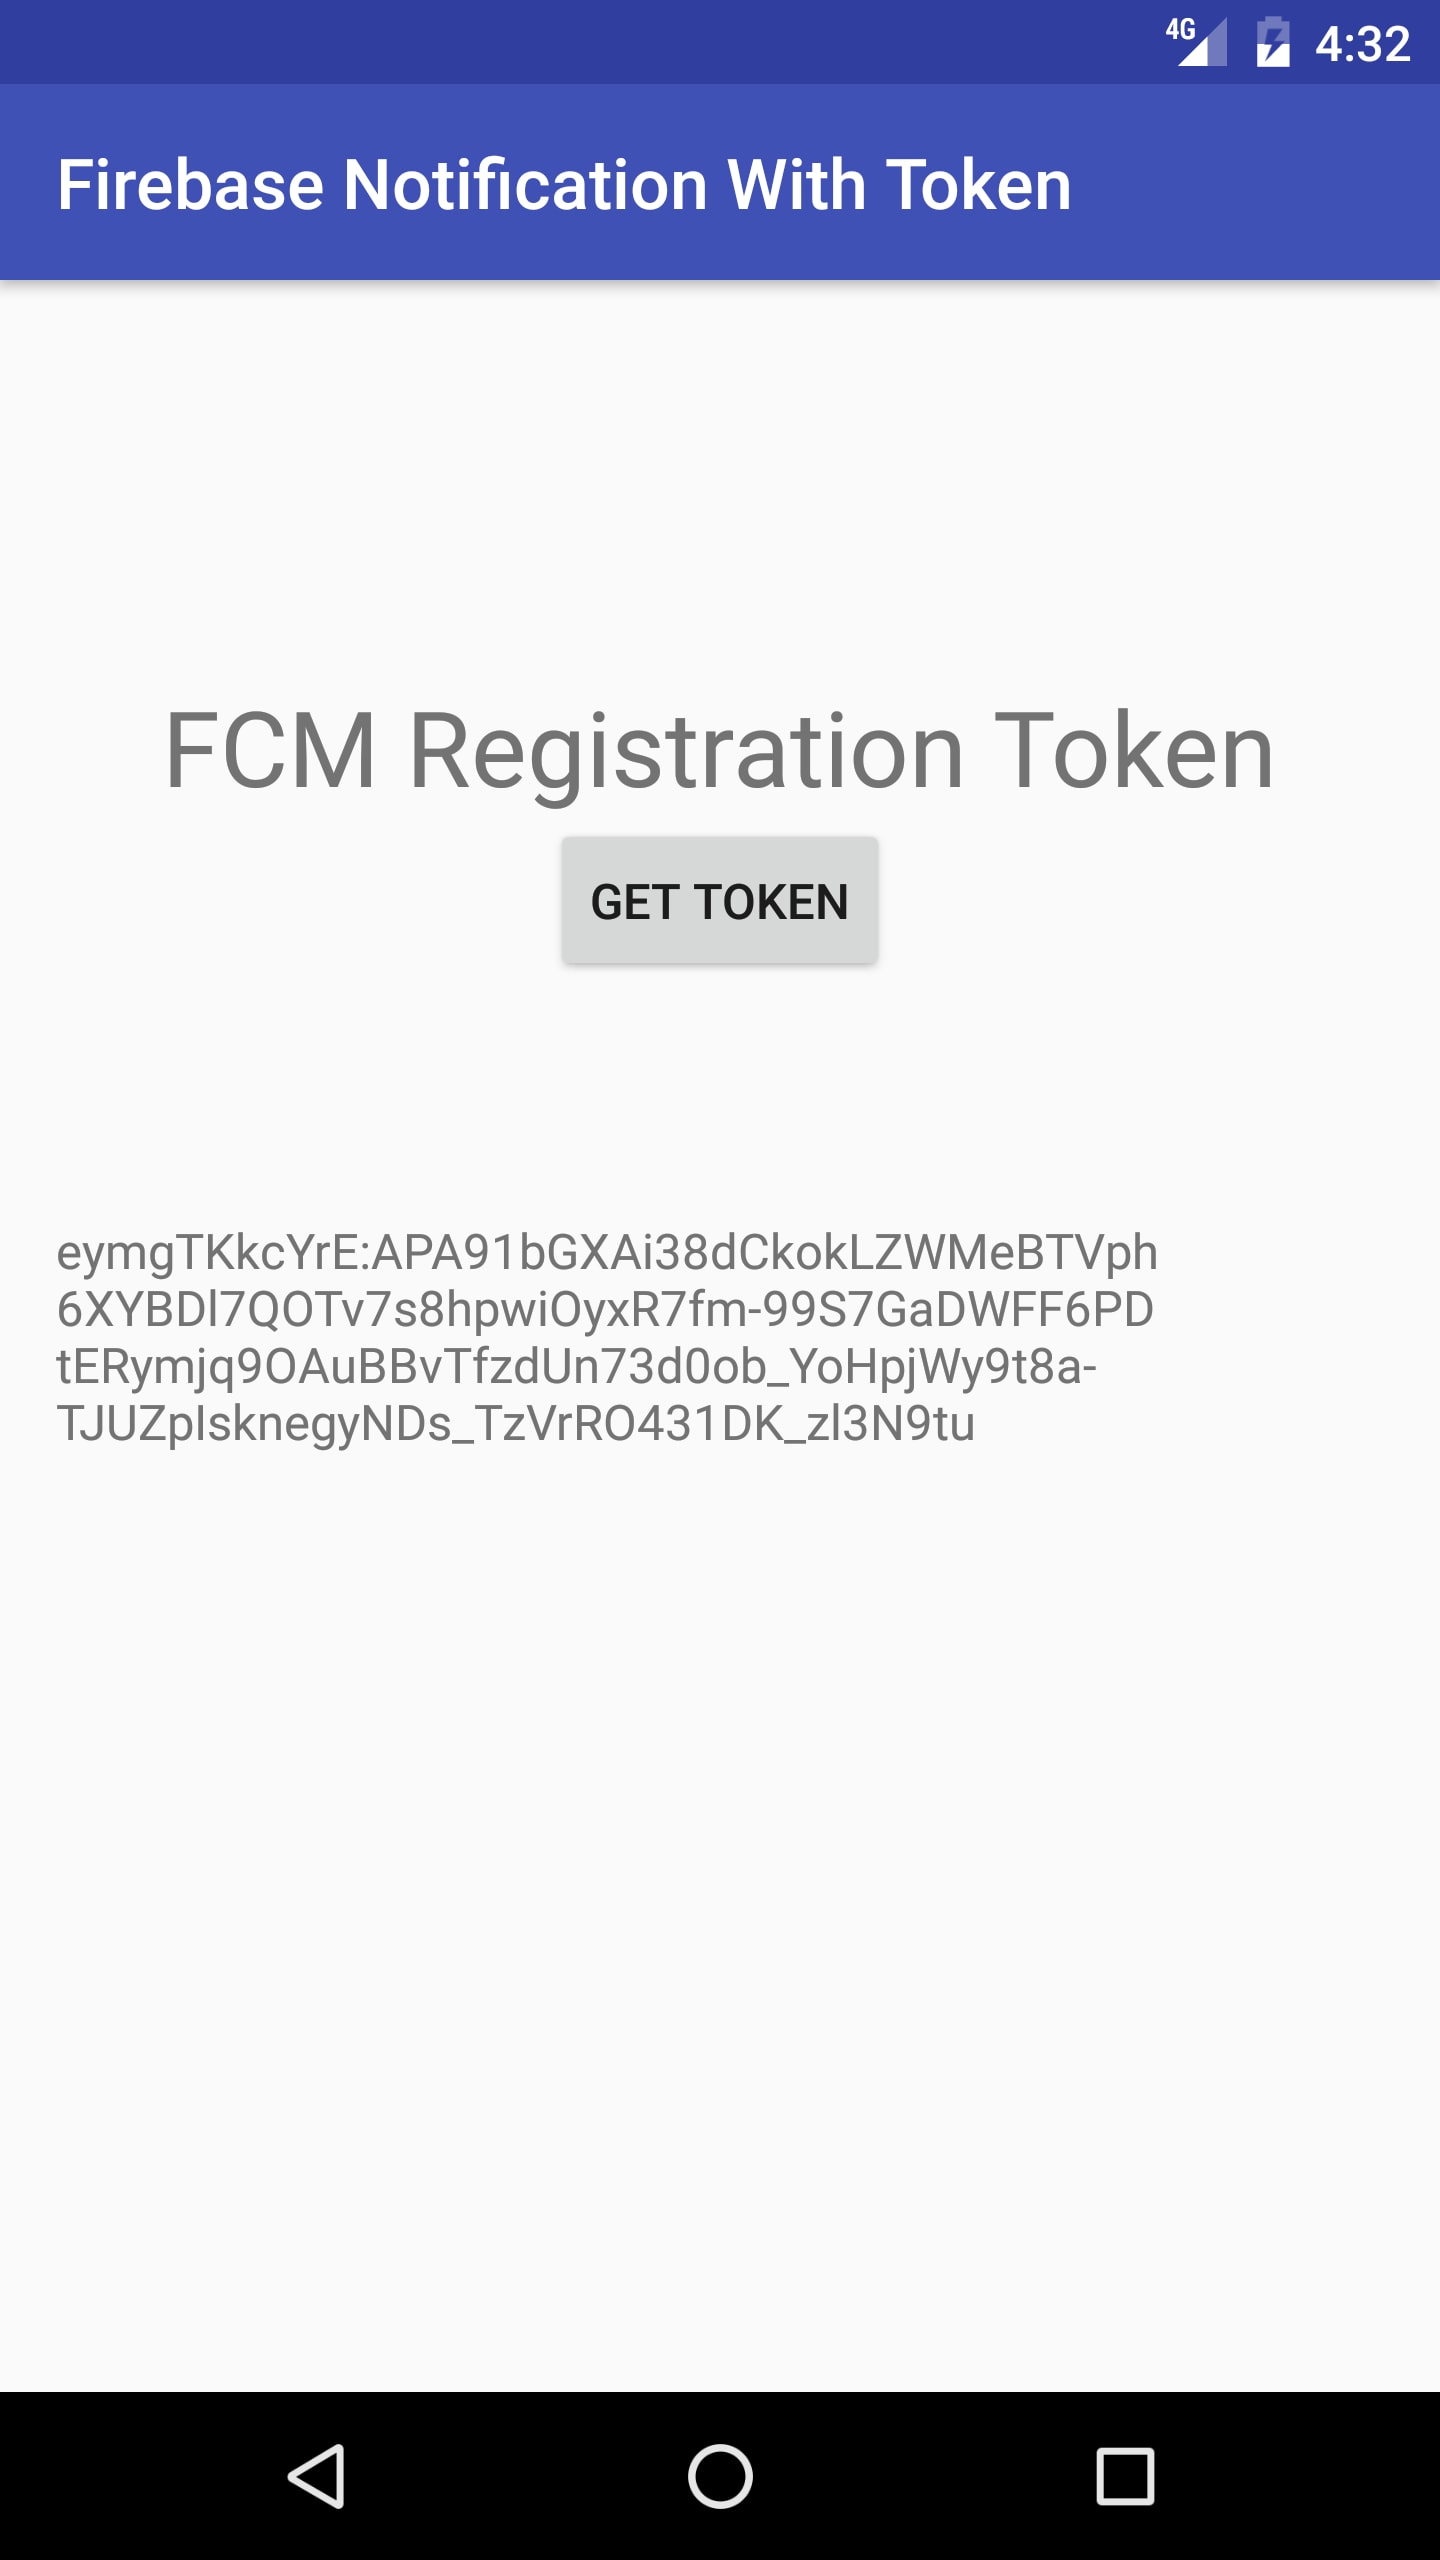
And for Register Token Id press on GET TOKEN button:


(2) Comments
Legend Blogs
@Sagar Singh: admob is only for google Ad not for cloud notification.
Sagar Singh
can is use admob instead of ..
compile 'com.google.firebase:firebase-messaging:11.2.0'
Amanda Chua
Really impressive information in regards to firebase and I am going to improve my skills for sure. Thanks for the valuable information.
Write a comment